
Make the silhouette legible
Shoulders, sleeves, waistlines, and openings stay easier to inspect than they often are in an unstructured flat lay.
AI apparel product photography
Explore the invisible mannequin effect for clothing product photos. Start with a clear garment image, generate a candidate in Studio, and check shape, labels and openings before use. Generation is in Beta.
Open Ghost workflow in StudioSample transformation
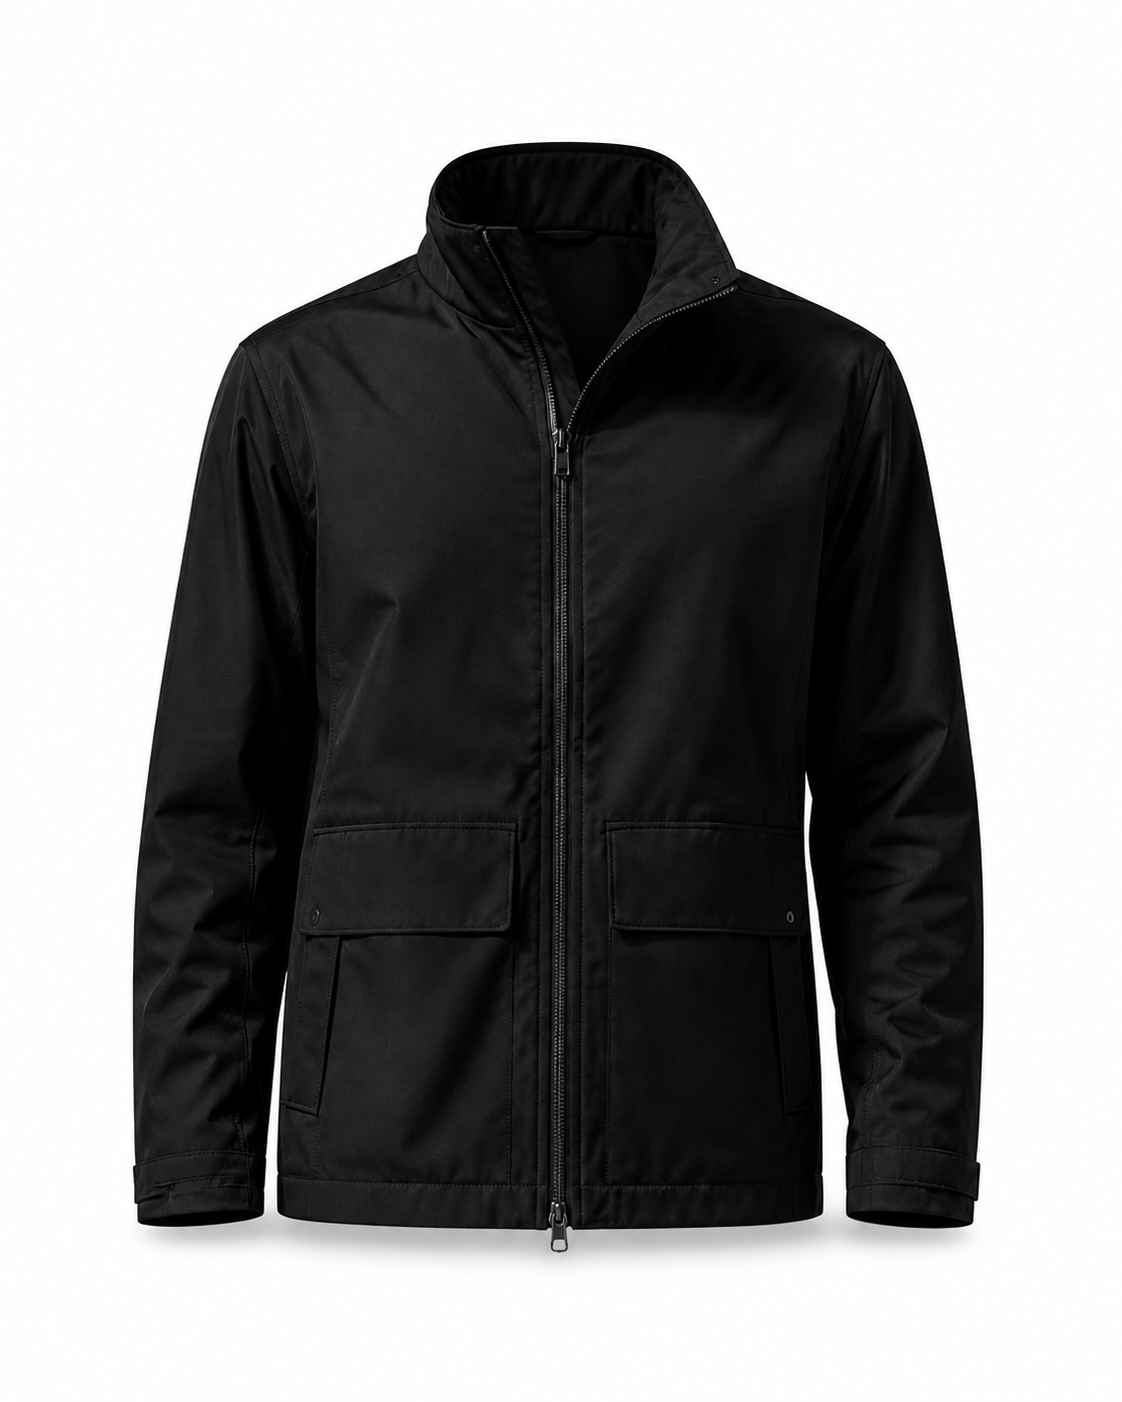 Ghost mannequin result
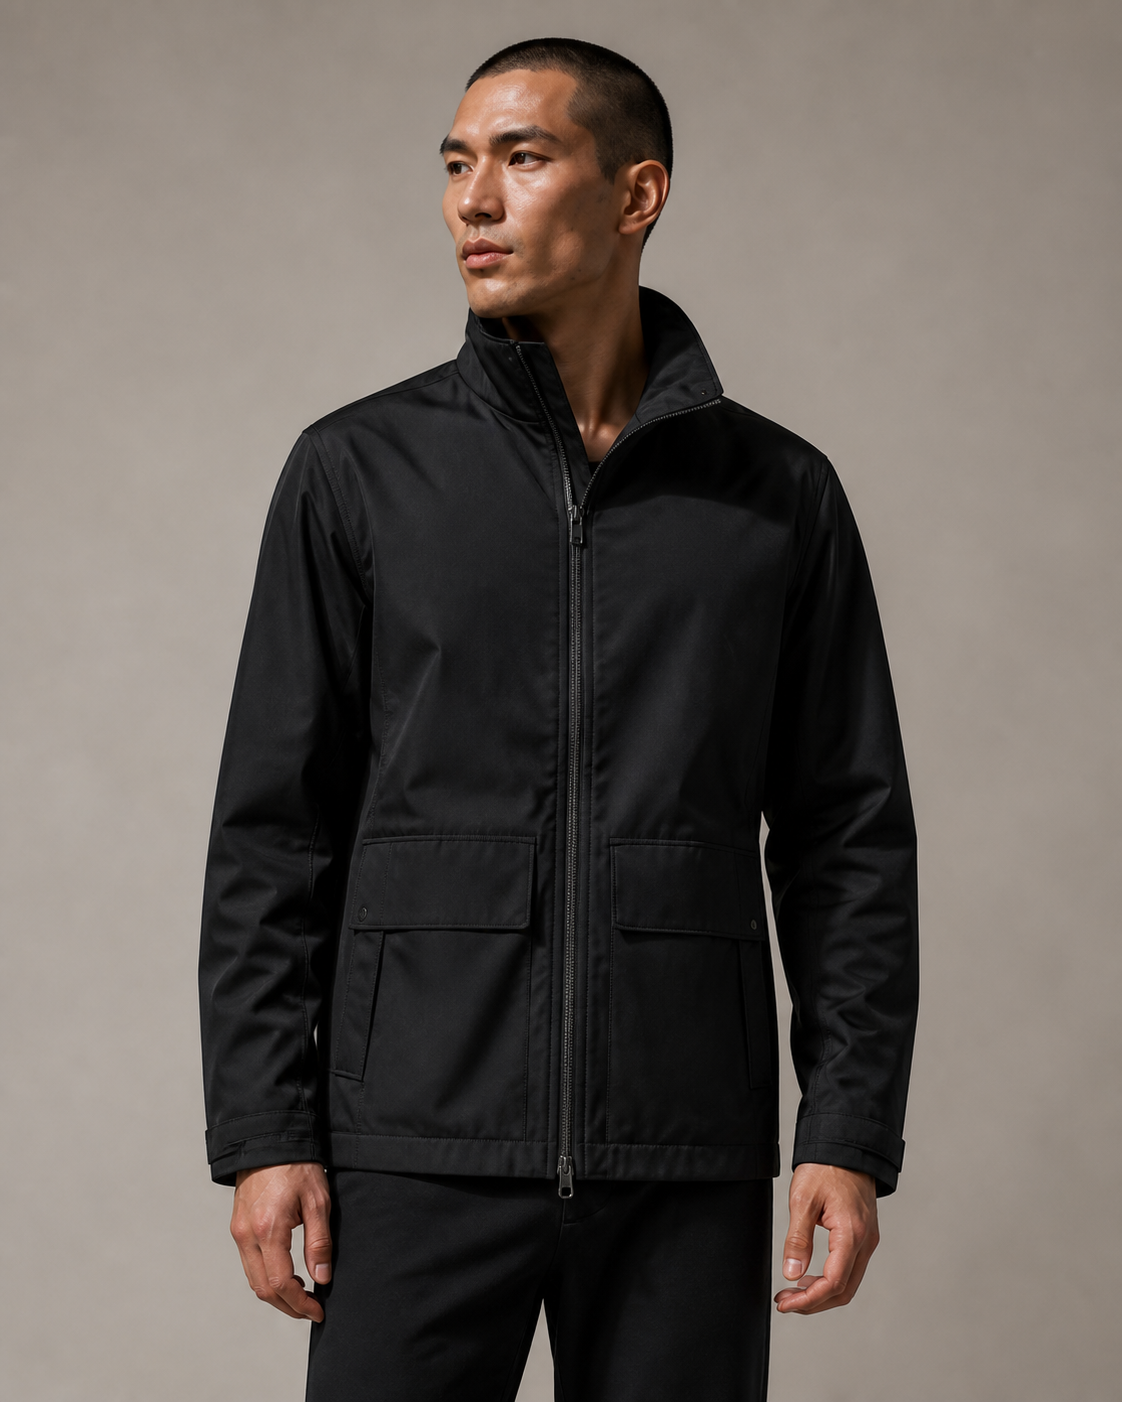 Source garment
Original AI-created concept sample, not an output verified through this Studio. It illustrates the effect, not a quality guarantee.
Download sample PNGUpload · Generate · Compare · Download
In Studio: one source garment, Ghost output, source comparison, approval and image-set download.
Live generation requires an account, credits, and a configured AI provider. The server shows the current credit cost before generation.
Not in this Studio release: extra reference uploads, transparent output, batch generation or video.
One apparel workspace
Prepare your source, check service availability and credits, then generate, compare, approve and download in one project. Drafts stay in this browser; store publishing is not connected.
Ghost mannequin imagery should make a garment easier to read, not turn it into a different design. Shotfit focuses the workflow on removing the support, rebuilding hidden openings, and holding the source garment as the reference.
Studio currently uses one source image. Photograph collars, labels and seams clearly. Keep other detail photos for manual review; multi-reference uploads are not yet supported in this workflow.
Ghost mannequin photography presents clothing with the volume of a worn garment while removing the person, hanger, or mannequin that supported it. The finished image keeps attention on silhouette, drape, construction, and interior openings.
Traditional production usually combines an exterior product photo with separate views of the collar or other hidden areas. Shotfit turns that layered editing brief into a guided generation workflow while keeping the original garment as the visual source of truth.
These names describe the same core treatment: clothing appears shaped by an unseen body, with the support removed and the inside of openings reconstructed. Different studios and marketplaces favor different terms, but the editing objective is shared.
A ghost mannequin frame gives the garment visual structure without asking a model or styled scene to carry the image. That makes it useful for product grids where shoppers need to compare construction across many items.
Shoulders, sleeves, waistlines, and openings stay easier to inspect than they often are in an unstructured flat lay.
A repeatable background, crop, and product-led pose can help a collection read as one system across a store.
A guided workflow replaces many of the masking, support removal, and hidden-area reconstruction steps of a traditional edit.
When you only need a transparent cutout instead of a hollow-body reconstruction, use Background Remover to isolate the garment. For a marketplace-ready catalog canvas, continue with White Background.
Compare the workflows rather than assuming a fixed saving. Shotfit timing, cost and quality depend on service availability, the source image, the current credit quote and your review.
| Measure | Traditional outsourcing | Shotfit |
|---|---|---|
| Per image | Request an editor quote | Credit quote shown before generation |
| Turnaround | Depends on scope and queue | Provider-dependent |
| Consistency | Editor-dependent consistency | Review every result |
| Scaling | Editor bottleneck | Single-image MVP workflow |
Removing a mannequin exposes an area the main photo never captured: the inside back of the collar. Neck joint editing rebuilds that hidden fabric, label, seam, and opening so the garment reads as a complete object rather than a cutout.
Traditional editing uses an inside-collar reference to show hidden construction. Studio currently takes one source image and cannot verify unseen labels or seams. Reject invented details.
Outer garment
Neck reference
Rebuilt joint
The main image establishes silhouette, material, color, print, trim, logos, and visible seams.
The person, mannequin, hanger, and source background are separated from the garment presentation.
Hidden openings may be inferred by AI, not recovered as factual garment details. Compare them with the real garment before approval.
Review the white-background candidate and download approved images in custom dimensions. Transparent output is not available in this Studio release.
Use the strongest source you already have. Sharp focus, even light, true color, and visible garment edges matter more than an elaborate studio setup.
Straighten the garment and keep sleeves, hems, and openings visible rather than folded beneath the body.
A front-facing hanger image can provide useful shoulder and drape information when edges stay unobstructed.
Use a clear exterior view. Keep a separate collar photo for manual comparison if needed; Studio currently accepts one source image.
Choose a pose that does not cover important garment structure, trim, closures, or printed details.
Open Studio with Ghost selected and add one garment photo. Keep additional detail photos for manual review; extra-reference uploads are not available here yet.
Use white-background Ghost output and choose custom download dimensions in Channel. Platform presets are suggestions, not official approval.
Generation currently requires an account and credits. Compare the result with the source garment, then download the approved image.
Clear answers for planning, shooting, generating, and reviewing apparel product images.
Ghost mannequin photography shows a garment with the volume and shape of being worn while no person or mannequin is visible. Traditionally, an editor combines exterior and interior views to create the hollow neckline and clean edges. Shotfit recreates that presentation from a supported garment photo.
The invisible mannequin and hollow man effect are alternative names for the same ghost mannequin presentation. Each term describes clothing shaped as if worn, with the support removed and interior openings made visible. Studios may use different names while asking for the same kind of final image.
Neck joint editing rebuilds the inside collar after support removal. AI can infer it but cannot verify hidden details. Studio accepts one source image, not a separate neck reference. Compare collars, labels and seams with the real garment.
Neither format is universally better: ghost mannequin highlights shape and construction, while flat lay keeps the presentation simple. Use ghost mannequin when volume and openings matter, and flat lay when a deliberately flat catalog system suits the product. Choose from the needs of the category rather than assuming one format guarantees better conversion.
You can prepare a flat lay or existing clothing photo without buying a physical mannequin. Ghost generation is Beta and requires sign-in, credits and an available AI service. Clear edges help; inferred structure needs manual review.
No, you do not need Photoshop or another desktop editor to generate the effect in Shotfit. Upload the garment, choose the background and aspect ratio, then generate the product image in the browser. You can still use separate editing software for additional retouching or marketplace-specific finishing if you want it.
Use a sharp, evenly lit flat lay, hanger, mannequin or on-model photo with clear garment edges. Studio currently uses one source image. Keep neck and alternate views for manual review rather than assuming hidden construction can be faithfully generated.
Yes, you can use Shotfit output in Amazon listings if the final image meets the applicable category and marketplace requirements. Choose a white background, then verify the crop, color, edges, and current Amazon image rules before publishing. Shotfit does not certify marketplace compliance.
Yes, Shopify sellers can upload Shotfit results as product media once the images match their store's crop and quality standards. Use a consistent aspect ratio and background across a collection. Resize or compress the file if your theme or storefront workflow calls for a different delivery size.
Traditional editing prices depend on image complexity, volume and service terms. Ask an editor for a current quote. Shotfit shows a credit quote before generation; total cost also depends on retries. No fixed per-image cost or savings percentage is promised.
Clear silhouettes and visible openings make review easier. Sheer, reflective, layered or fringed fabrics need extra care. Category-level quality is not yet validated; inspect each result against the real garment.
Shotfit currently requires an account and credits to generate an image. You can prepare and preview your inputs before signing in, but generation starts after authentication. The workbench displays the current credit cost before you submit.
A 3D ghost mannequin image is a two-dimensional product photo edited to suggest the garment's three-dimensional volume and interior openings. It is not necessarily a rotatable 3D model or mesh. Shotfit's current ghost mannequin output is a still product image.
Ghost mannequin emphasizes the garment alone; on-model imagery adds a styled human context. Studio includes both directions in Beta. Neither guarantees exact fit, model identity or garment fidelity; compare and approve each image before use.
You can create ghost mannequin photography without a studio by starting with a clear flat lay, hanger, mannequin, or on-model photo and processing it in Shotfit. Use diffuse light, straighten the garment, and keep key edges and openings visible. Sign in and use credits to generate, then compare the result with the source before publishing.
Use a focused tool when the job is background cleanup rather than hollow-form reconstruction. Each workflow keeps the apparel image and its catalog destination at the center.
Generate a Ghost candidate, compare it with your source, and download only approved images in the same product project.